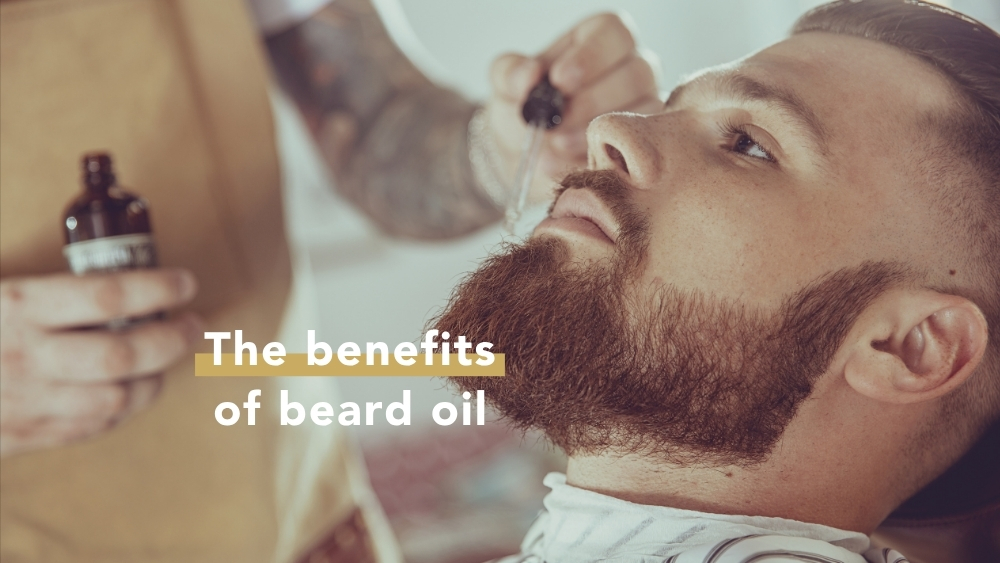
Why use beard oil?
For a beautiful, healthy beard, there is no miracle recipe: just maintain it daily wi...
Expert advice | 20 February 2026
Free delivery on orders over $50
Written by Karine Sevigny
15 March 2026
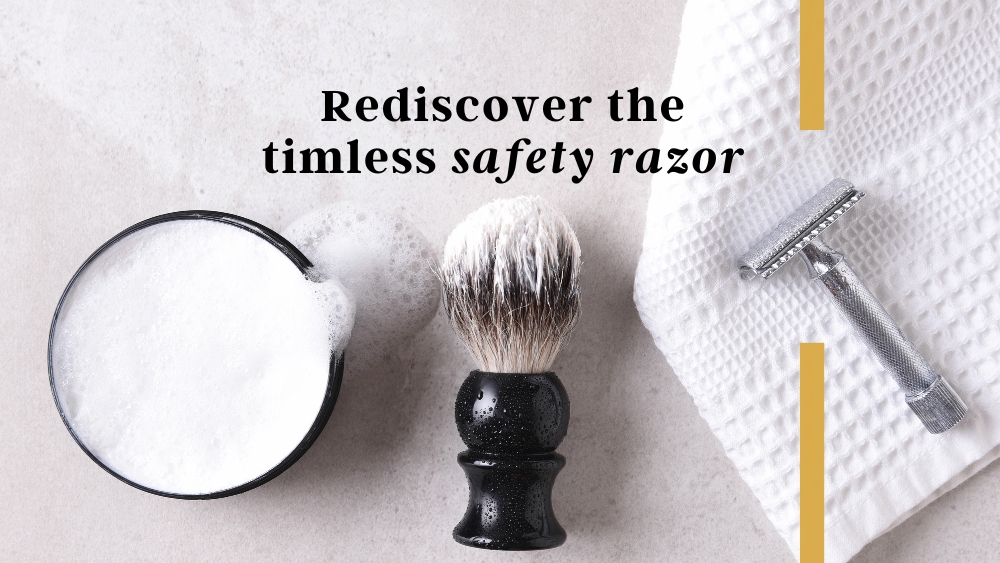
Traditional shaving is finding new fans as men and women trade disposable razors for safety razors. This barbershop classic may look unfamiliar at first, but learning to use a double-edge razor is simpler than you might think. Before we cover the technique, here’s what makes a safety razor worth considering.
Share


In this article
Switching from disposable razors to a safety razor can mean less waste and fewer repeat purchases. Built from durable materials, such as brass and zinc, safety razors are designed to last for years with proper care. They cost more upfront, but replacing only the blade can make them more economical over time. For comparison, a pack of disposable razors may cost around $10 and last a few weeks, while a safety razor typically costs between $30 and $75. How quickly you recover that investment depends on how often you shave and the blades you choose.
A double-edge razor uses one blade with two cutting edges, with only one edge passing over your skin at a time. This can help reduce the repeated friction associated with multi-blade cartridges. With the right technique, it may also help limit irritation and ingrown hairs. The accessible blade and head are easy to rinse, helping clear away hair and shaving cream as you go.
Safety razors are also useful for more than just facial shaving. A model with a longer, textured handle can offer a comfortable grip when shaving legs and underarms, including in the shower.
With a little practice, this simple switch can lower your ongoing shaving costs, reduce disposable waste, and make shaving more comfortable.
Here are the steps to shave using a safety razor without hassle:
The first step when transitioning to traditional shaving is to ensure you have all the necessary equipment. Here are the accessories and products you will need to shave:
This step is crucial to ensure a pleasant and pain-free experience. First, to facilitate shaving, you need to open the pores of the skin. Clean your skin with hot water or wrap the shaving area with a warm towel and let it sit for a few minutes. In addition to opening the skin pores, the heat helps to ‘soften’ the hair. After that, gently dry your skin and apply a pre-shave treatment to the area to be shaved. The pre-shave treatment will facilitate the glide of the blade on the skin.
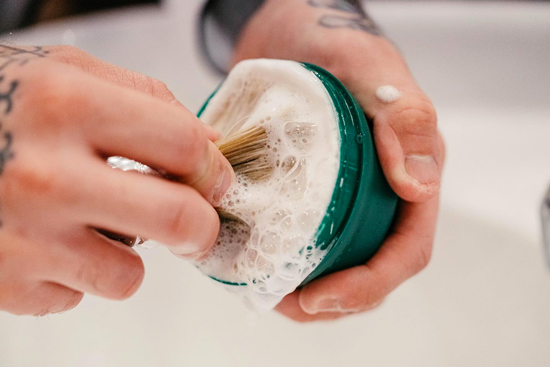
Now that the skin is ready to be shaved, it’s time to take action. In the bowl, place a small amount of your shaving cream (about the size of a walnut) and, using your brush, whip the cream to the right consistency. When you remove the brush from the mixture, it should form a soft peak. Your mixture is now ready. If you prefer to use shaving soap, the process is almost the same. However, before whipping the mixture in the bowl, you will need to make circular motions for 1 minute with your brush to capture as much soap as possible. Once the brush is filled with soap, whip it in your bowl. Once the mixture is complete, apply it to the shaving area using your brush.
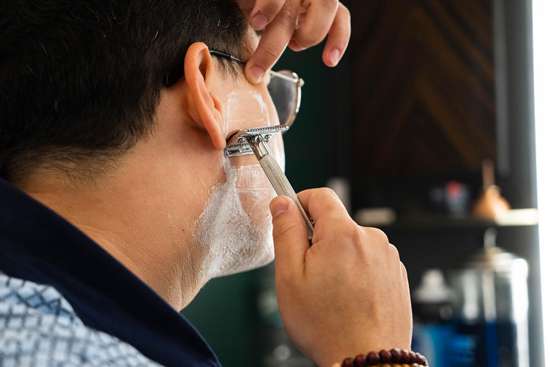
After applying the cream or shaving soap to your skin, make the first pass with your razor in the direction of hair growth. Then, make another pass with the razor, but this time against the direction of hair growth. Finish the shave by passing the razor at an angle of 30 to 45 degrees. It is essential to apply more foam before each new stroke of the razor. Additionally, there is no need to apply pressure on the razor to achieve a better result. Just let it glide over your skin and its weight will do all the work.
Once all your hair is shaved, rinse your face thoroughly with cold water to close the skin pores. By closing the skin pores, you limit infections. You can also use a post-shave product to speed up the healing process.

Finally, apply a moisturizing cream or balm to your skin to avoid burning and tightness sensations.
Once your shaving session is complete, it is important to thoroughly clean and, above all, dry your equipment to avoid oxidation and the appearance of mold and bacteria.
It’s that easy!
Discover all our traditional shaving products
See all care and toolsShare