Free delivery on orders over $50

Coifferie.com
Return to Coifferie.com
Expert advice Hairstyle tips

Tips for DIY hair color at home

Written by Karine Sevigny

6 March 2026

If you’re ready for a new shade but your next salon appointment feels too far away, DIY hair color at home may be an option. Our hair experts have put together a practical guide to help you choose your products, prepare properly, and work through each step with confidence.

Share

Facebook Email

In this article

  1. DIY hair coloring at home: Prep is key
  2. Start your DIY hair color
  3. The secret to finishing your DIY hair coloring
  4. Tips from our experts

Before you start

Plan ahead for DIY hair color at home so you have the right supplies and enough time for every step, including the allergy test.
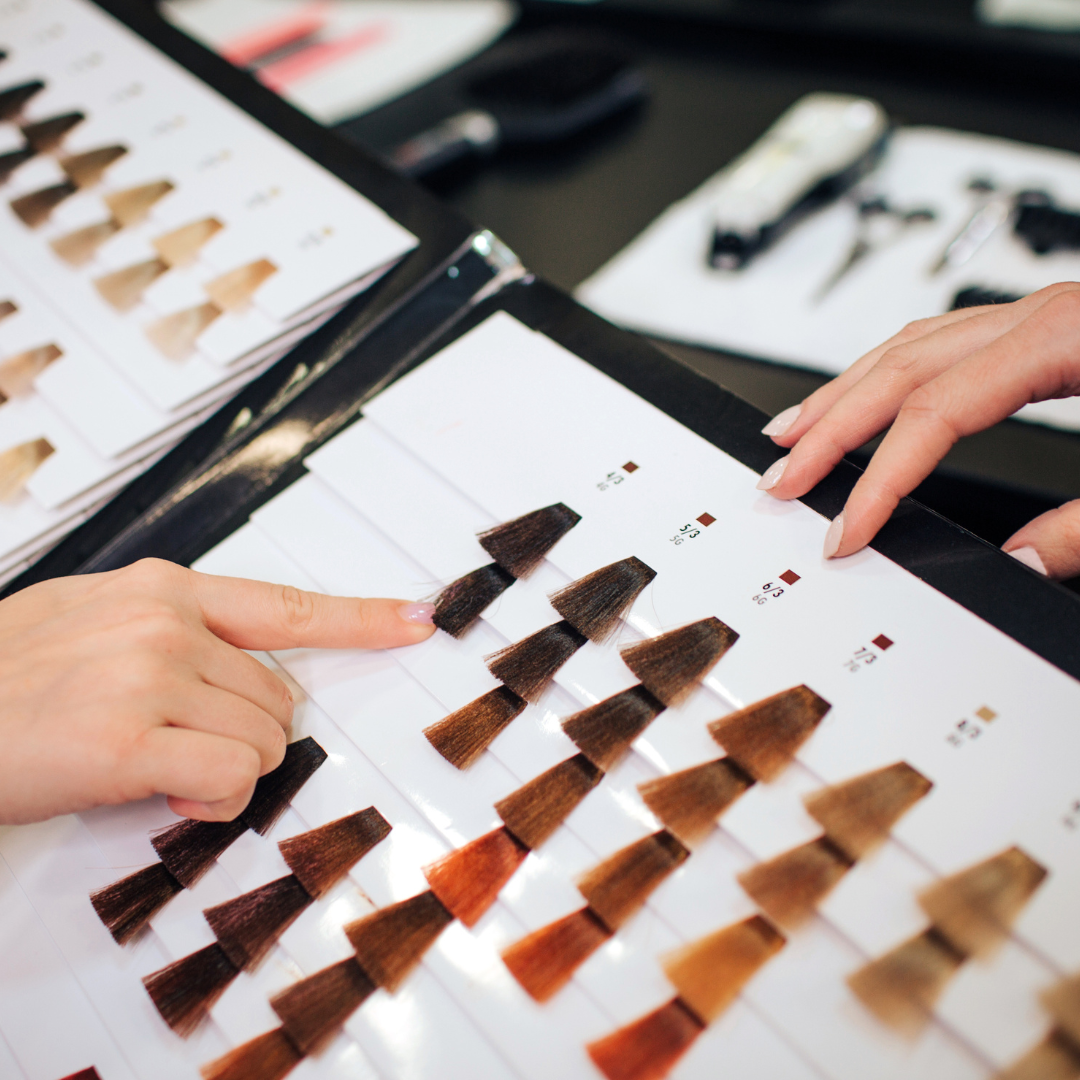
  • Get your hairstylist’s advice: Before buying anything, talk about the shade you want and what’s realistic for your hair. Your stylist can recommend suitable products and the tools you’ll need.
  • Gather your supplies: Along with your color, you’ll need gloves, an applicator brush, a mixing bowl, and a scale or measuring cylinder if the formula requires precise mixing. Check what’s included in your kit before shopping for extras. Browse our hair coloring tools and accessories to complete your setup.
  • Do an allergy test: Follow the manufacturer’s exact testing instructions before every application, even if you’ve used the color before. Allow the full waiting period, typically 48 hours. If you notice itching, burning, redness, or another reaction, don’t use the product.
  • Read the directions first: Check the mixing proportions, application steps, processing time, and rinsing instructions before you open or mix anything. Directions can differ from one formula to another.
  • Protect your skin: Apply a thin layer of petroleum jelly along your hairline and around your ears to help prevent staining. Keep it off your hair, where it could interfere with the color. You can also use a skin protector designed for coloring.

Applying your DIY color

With your supplies ready, work through each step carefully for even coverage.
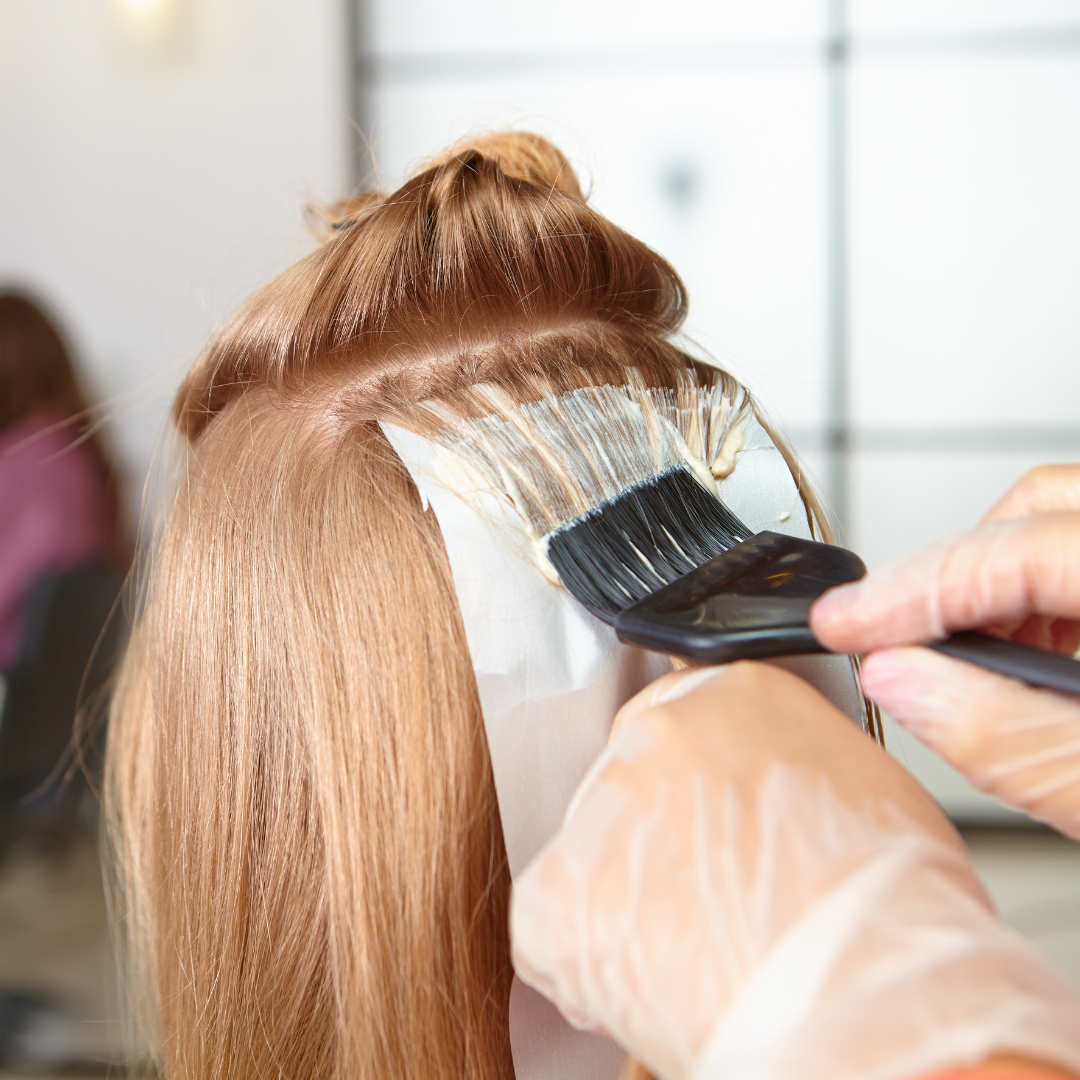
  • Divide your hair into sections: Part your hair down the middle, then divide each side again to create four sections. Clip them separately so you can work through your hair methodically.
  • Mix your color: Follow the product’s instructions for measuring and mixing. Once the formula is ready, begin applying it right away.
  • Work in small sections: Within each of the four sections, separate thin layers no more than about ⅜ inch (1 centimeter) thick. This makes it easier to coat the strands evenly and avoid missed spots. Follow the directions for where to begin and whether to apply the color to your roots, lengths, or both.
  • Set your timer: Follow the processing time on the packaging, including when to start timing. Rinsing too soon can affect color development and lasting results, while leaving it on longer won’t necessarily improve coverage. Stick to the recommended time.

Rinsing and caring for your DIY hair color

Once the waiting time is up, rinse as directed and finish with the recommended aftercare.
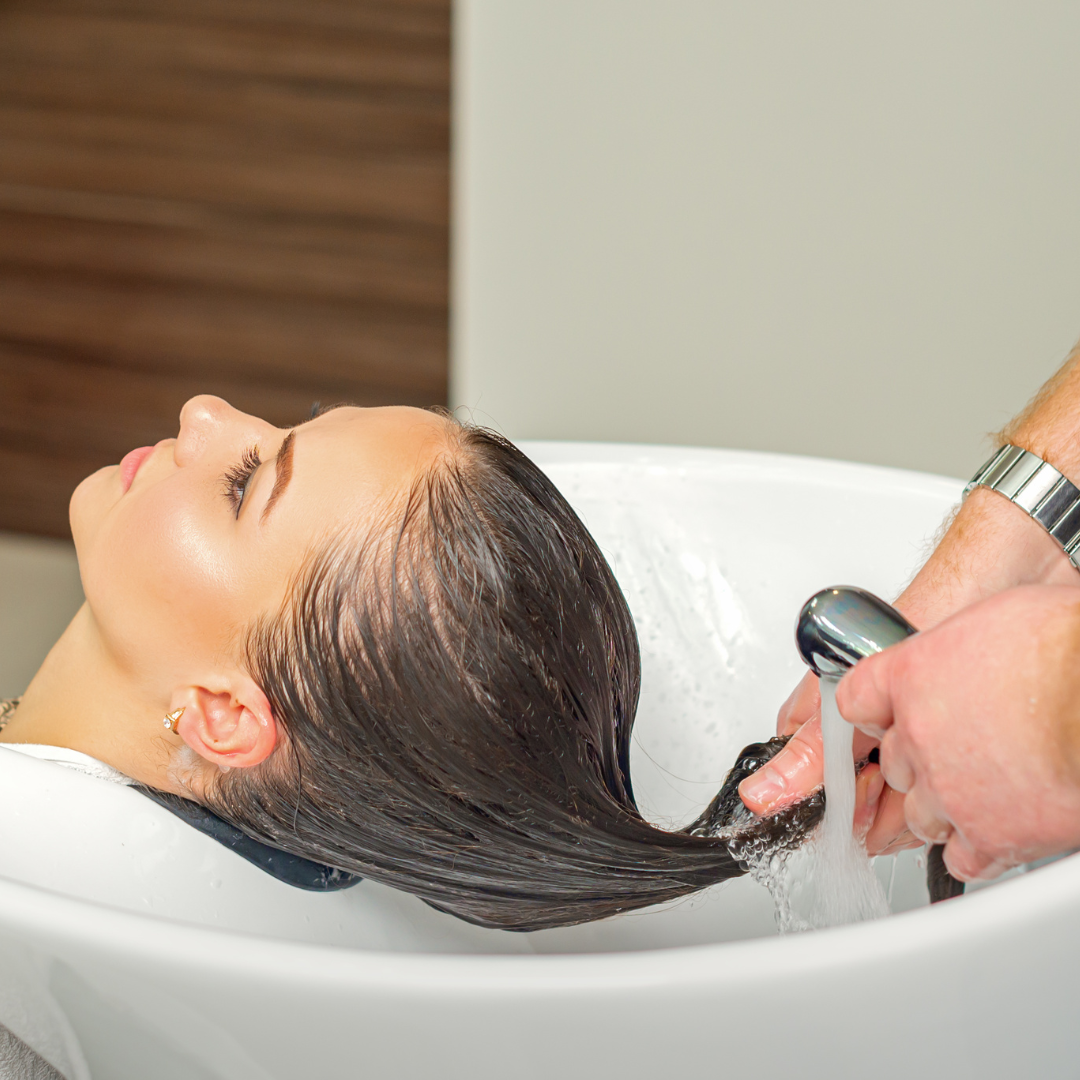
  • Gently clean your hairline: If color has stained your skin, use a dye remover intended for skin, following its directions. Avoid rubbing leftover dye into your skin or scrubbing irritated areas.
  • Emulsify if directed: Some formulas call for adding a little lukewarm water and gently massaging the color through your hair before rinsing. Follow your product’s instructions for this step and its timing.
  • Rinse thoroughly: Use lukewarm water and keep rinsing until the water runs clear.
  • Wash and condition as instructed: Some formulas require shampoo after rinsing, while others call for conditioner only. Follow the directions that come with your color, then use suitable aftercare to keep your hair soft and your shade looking fresh. Browse our favorite ranges for maintaining colored hair.

Tips for better DIY hair color results

  • Leave major changes to a professional: Going from black to platinum blonde can take several appointments. Attempting a dramatic transformation yourself increases the risk of damage and uneven color, which can be costly to correct.
  • Apply your color as soon as it’s mixed: Oxidation begins once the components are combined. Waiting too long can affect how the formula performs, so mix only when you’re ready to start.
  • Choose your formula with expert guidance: For DIY hair color at home, ask a stylist to recommend products suited to your starting shade, hair condition, and desired result. Keep a record of what you use in case you need a professional’s help later.
  • Match your formula to your coverage goals: Permanent color is generally the best choice for full coverage of gray or white hair. Other formulas may blend grays rather than cover them completely.

A natural alternative to hair coloring

Rodolphe & Co.

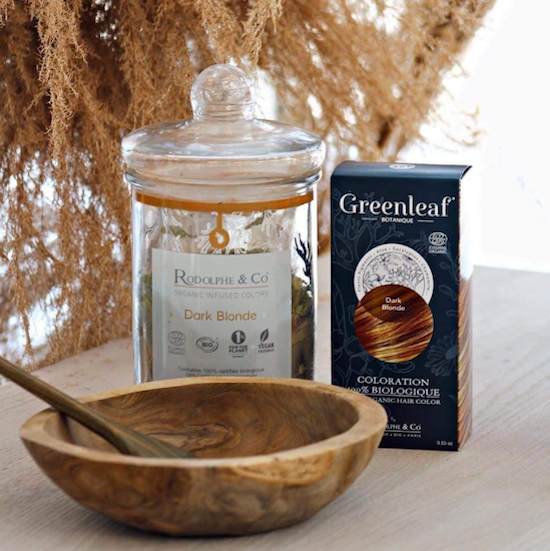
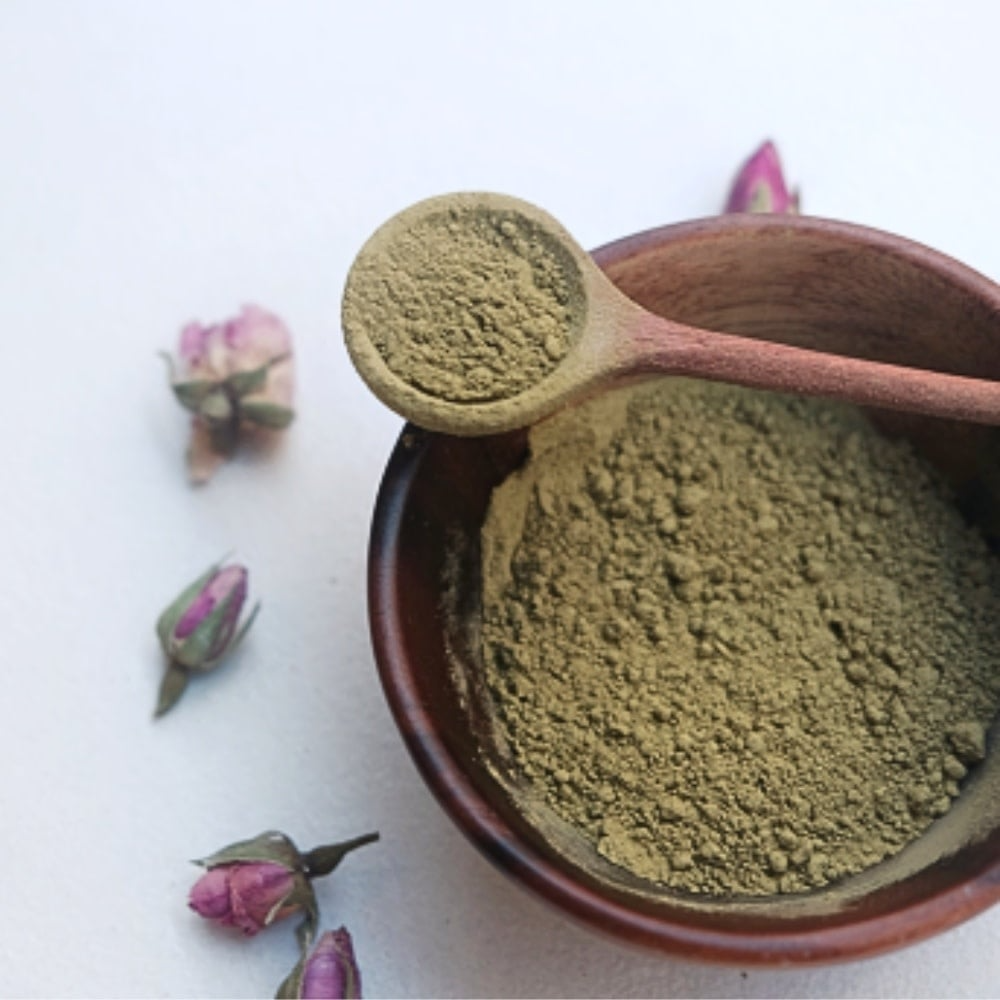
If you prefer a plant-based approach to DIY hair color at home, Rodolphe & Co. offers organic formulas made with botanical pigments. The color comes as a powder that you mix with water until smooth, providing an alternative to conventional coloring while helping maintain your hair’s condition.

Plant-based color can still cause allergic reactions. If you’ve reacted to hair dye before, check with a dermatologist before trying another formula and follow the product’s allergy-testing instructions.
Check out our range of DIY hair color products

See all DIY hair color products

Share

Facebook Email

You might also like